Make your very first Amigurumi project with this crocheted amigurumi animal pattern. A very easy mini bunny suitable for very beginners. You will learn how to make a fast Amigurumi with a very simple structure. This project can be completed within an hour and you can use it to make your own handmade gift. Other ideas for your Amigurumi are keychains or as a nursery decoration or Christmas tree ornament!
If this is your first contact with Amigurumi, this bunny is a great pattern to start crocheting!

One of my first Amigurumi patterns was Amigurumi carrot bunny 3 years ago. Time pass so fast! I felt a little nostalgic and wanted to review the pattern. Once I reviewed the old pattern I felt it will be nice to make a new version, even more easy for those Hook Ninjas out there that are wanting to try out Amigurumi for the first time. It feels nice to see how your skills improve with time!
Amigurumi mini bunny free crochet pattern
Abbreviations:
- Sts: Stitches
- ch: Chain
- Sc: Single crochet
- Inv. Dec.: Invisible Decrease
- 2sc: Two single crochet
Materials needed
- Worsted weight white yarn
- Two Plastic safety eyes or beads
- Fiberfill stuffing
-Pink Thread
-Needle for embroidering.
Hook size:
For this pattern I am using a 4 mm clover hook but you can use a smaller or bigger in any brand of your preference. The bigger the hook the less tight the stitches and the bigger your amigurumi. If you use the hook I am recommending in this pattern and tour fabric still looks loose (you can see the stuffing) you should use a smaller hook.
BODY
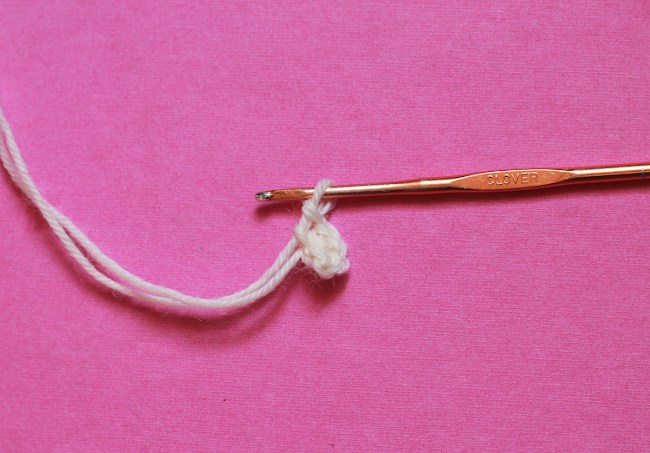
Rnd 1 — St 6 into magic ring (5 sts)

Rnd 2 — 2sc in each st around(12 sts)
Place marker

Rnd 3 — [2sc in next st, sc in next st]Around (18 sts)
Rnd 4 to 8 — Sc around (18 sts)

Place eyes, in the 5th row
Start filling the body.
Rnd 9 — [Inv. Dec. in next st, sc in next st]around (12 sts)
Rnd 10 — [Inv. Dec. in next st]around
Fasten off. Leave a little tail for making your bunny hair by simply brushing the tail and making it fluffly. (Thank you Lumiena for teaching me this trick!)

EARS (MAKE TWO)

Rnd 1 — ch 10
Rnd 2 —sc in each of the sts.
Fasten off leaving a long tail to sew to the body with a tapestry needle.
REMEMBER: Place safety eyes before filling your buddy.
Embroider a nice pink nose in triangle shape in between the eyes and a smile if you want. You can also embroider cheeks!.
You are done! Great Job!
I hope you enjoy this tutorial, let me know if you have any comments in the comment section below. We Love to help you out!
Back to our list of Amigurumi patterns
Here is a pattern for a similar mini amigurumi bunny with feet 


